After doing my research, the #1 hosting service that I found is Bluehost. It’s one and only hosting company I recommend to new bloggers. For just $3.49 a month, you can get started!
I’m also Bluehost affiliate partner, you can use this special link to get hosting for as low as $3.49 per month along with one free domain name for a year!
Why I Recommend Bluehost?
- Outstanding customer support 24-hour via chat, email and the phone.
- 99.9% up-time record, you can’t get any better.
- Affordable and reliable
- Get a domain name for FREE!
- 30 Days Money Back Guarantee
Click here to Signup for Bluehost
Now let me guide you through the process of setting up your very own WordPress blog with bluehost.
Choose a Domain Name
You have a couple of options when it comes to registering your domain. You could either:
Register with your host (Easier)
Register with a domain provider and change your nameservers over to your host
I always recommend first option for beginners, because it’s very simple and easy.
If you choose to signup for bluehost, you can use my special link to get free domain name for a year!
www.bluehost.com/allbloggingtips
Sign up with Bluehost
Go to Bluehost and press Get Started Now:
Click here to get Special 50% OFF DISCOUNT

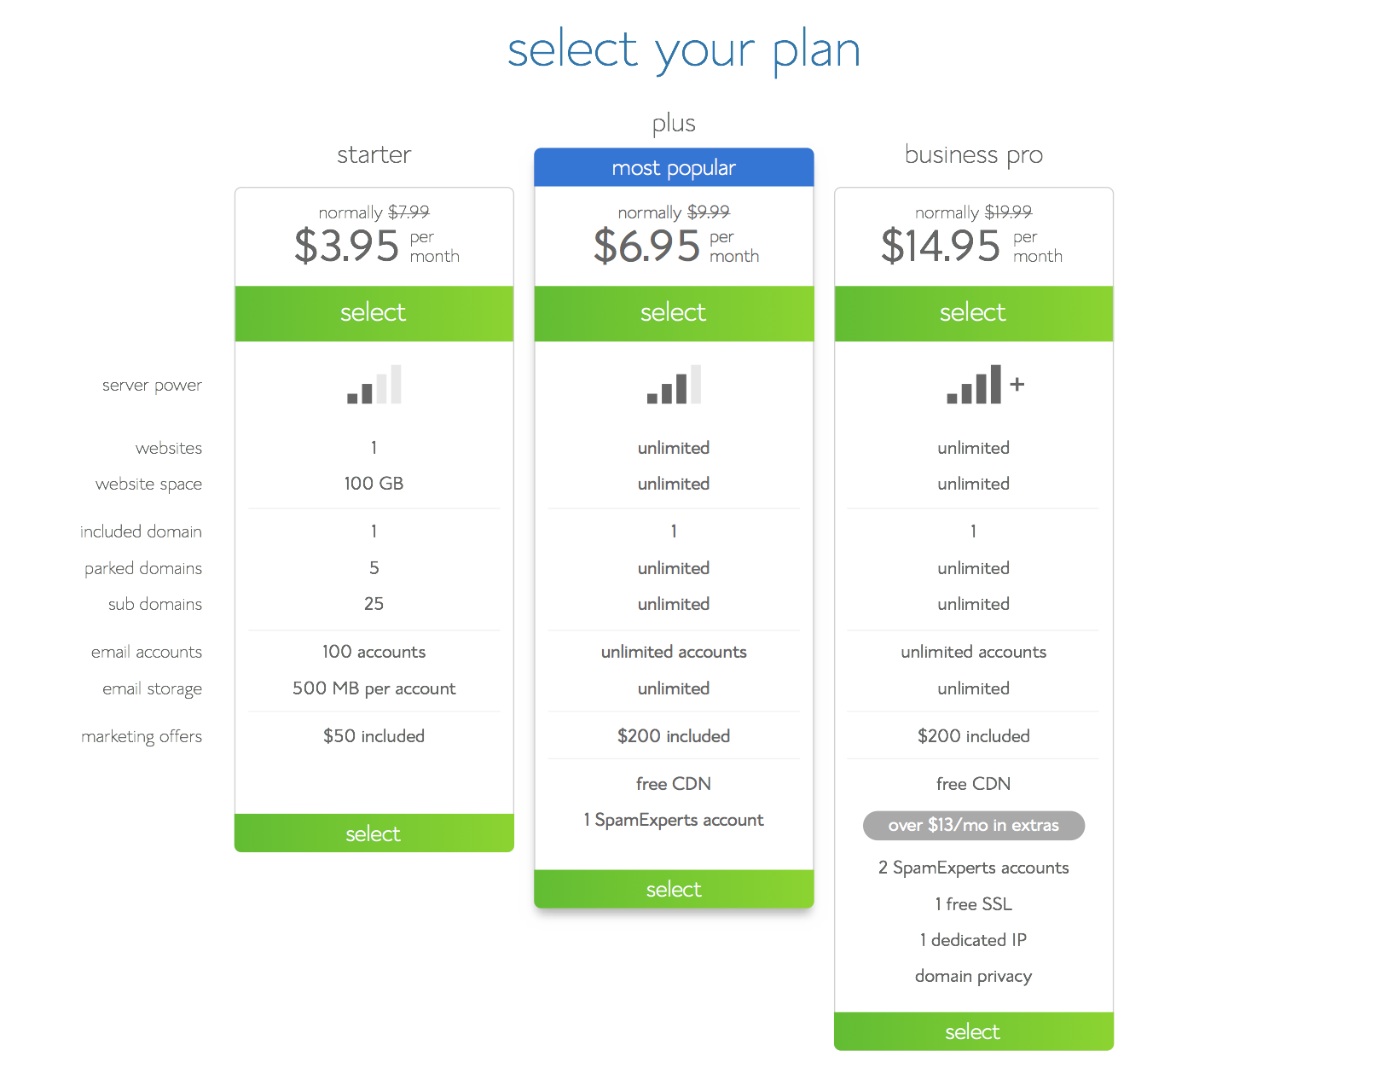
Select your plan:
If you’re just starting out, you only need the starter plan. You can always upgrade if you decide to later on.
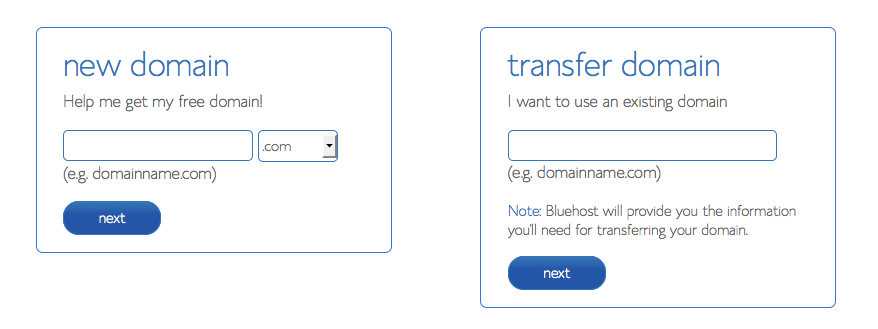
- If you already bought your domain, type it in on the right.
- If you’re taking advantage of FREE domain you chose to the left.
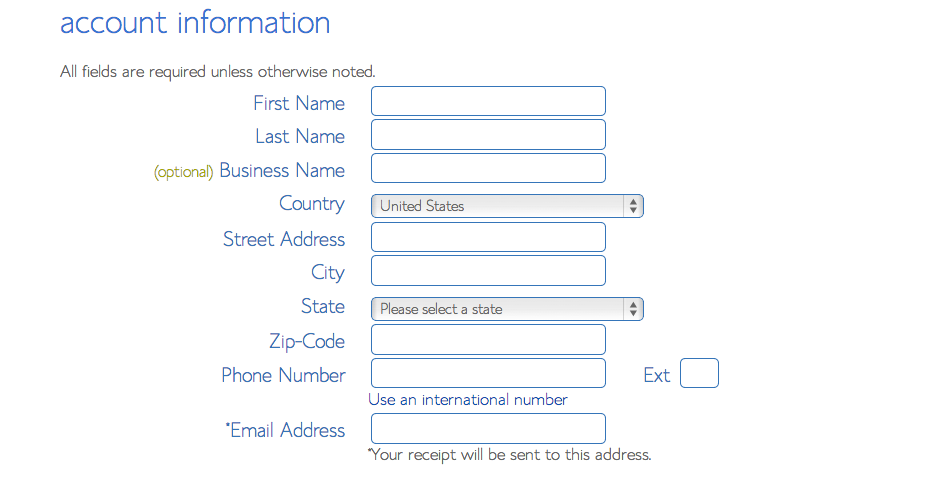
Fill out your account information:
These are the checkboxes that I suggest to check off. Because you don’t really need them.
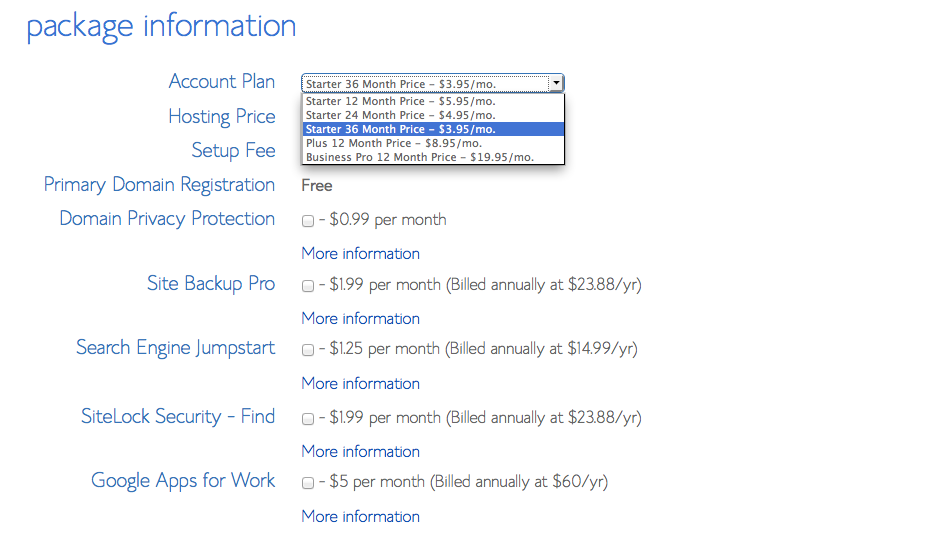
After you’ve choosed the package, now include your billing information and press next.
When you get your login information, login to Bluehost.
Installing WordPress
Here is what you you need to install WordPress.
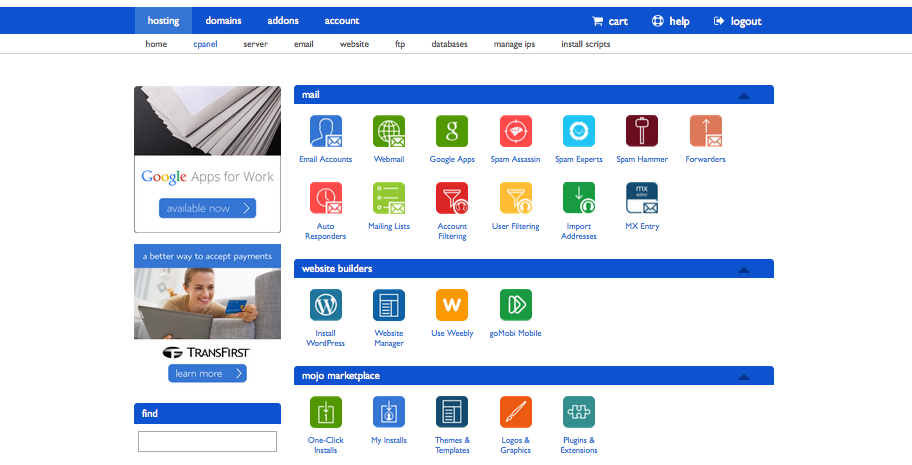
Under “Website Builders”, click “Install WordPress”.
This will open a new tab or window, where you will press “install” button.
Select “Do It Yourself (FREE)” portion.
Select your domain with the dropdown list. After bluehost check the domain, it will ask you to check off the terms and conditions box.
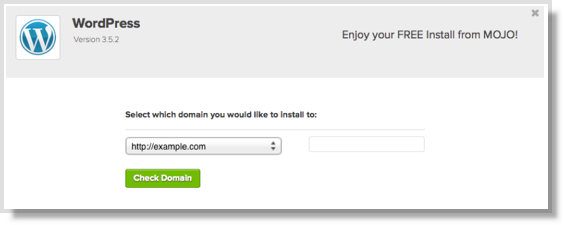
Do that, and press: Install Now.
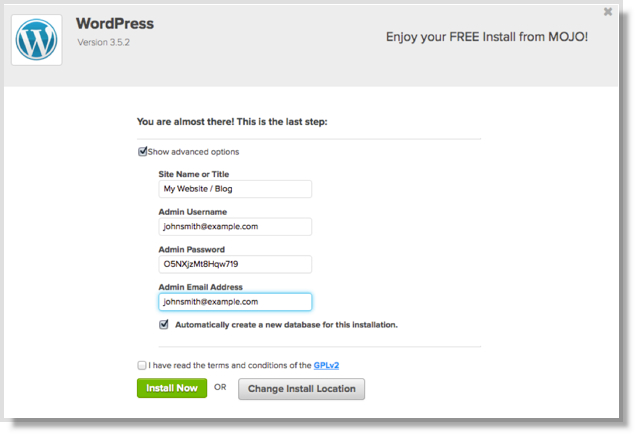
You may be directed to a themes page.. Don’t buy any of them yet. You can easily find many great themes for free.
When the install is complete, press the “View Credentials” button.
Press “view” button, and click on the “Admin URL”.
Log Into WordPress
Your login URL for blog will look like this
domain.com/wp-admin
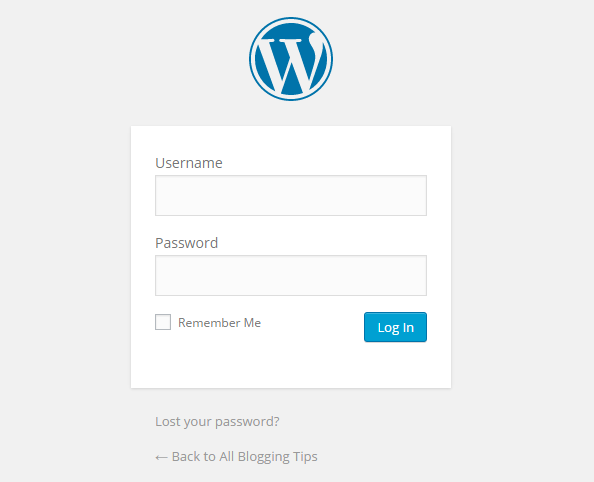
Type in your username and password and you’re logged in!
You’re looking at your WordPress Dashboard.
Congratulations!
You’ve now set up your website.